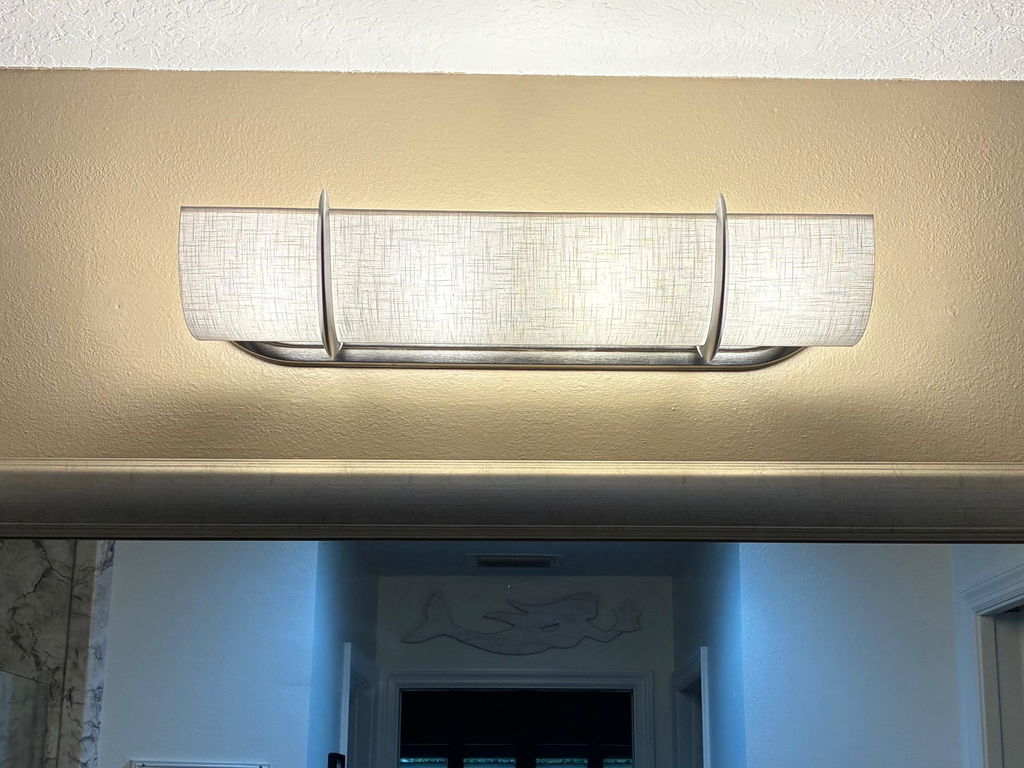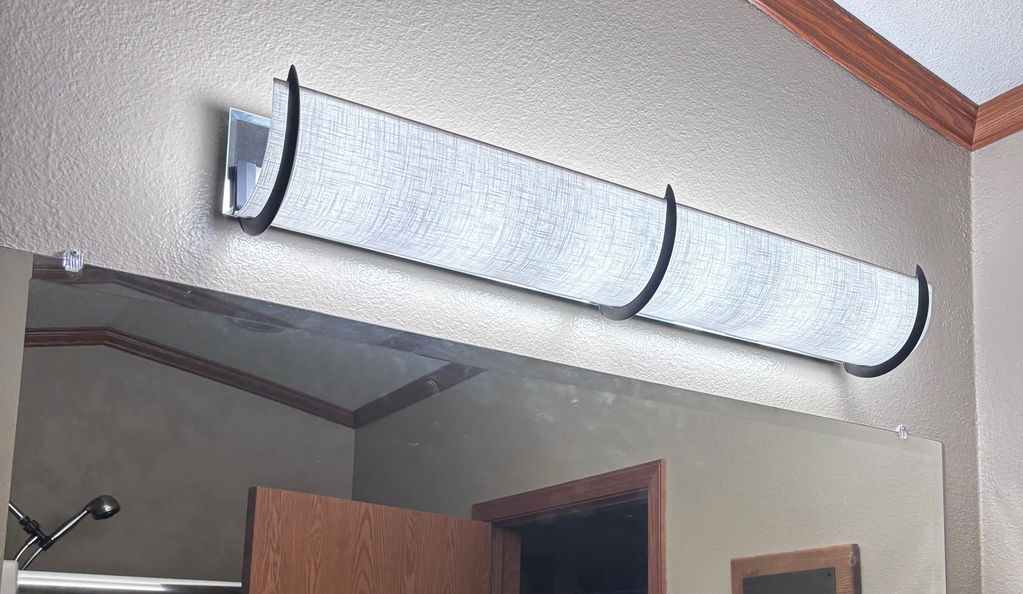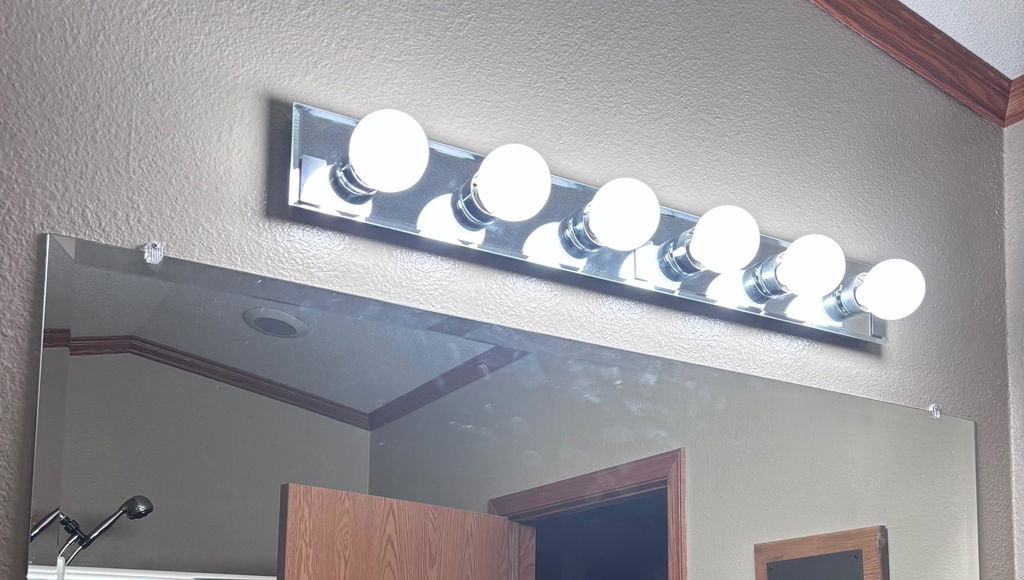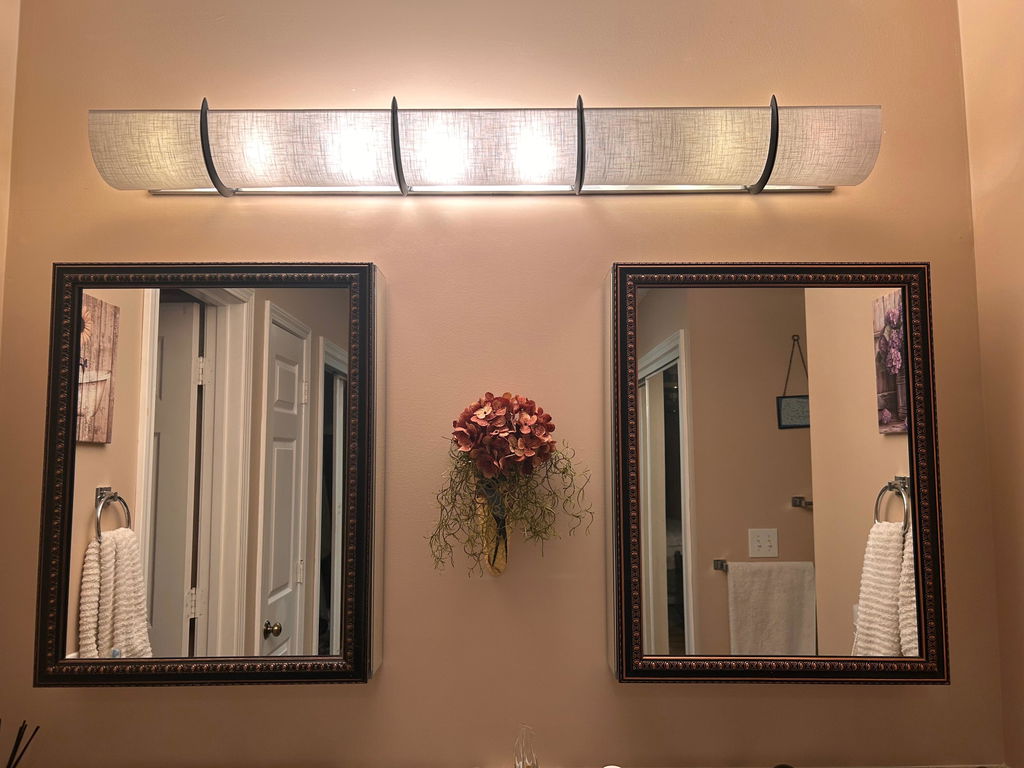
No tools. No time. No talent. Just a beautiful bathroom update!
One of the best things about EzLightWraps is how quickly you can transform those outdated bathroom vanity lights—often in less than five minutes!
But every bathroom is a little different, and a few simple tips can make all the difference between a quick, beautiful installation and an unexpected headache.
Whether you're installing your first EzLightWrap or just need a little help, we've got you covered!
1. First Things First: Use LED Bulbs
This is our most important installation tip!
EzLightWraps are designed for use with LED bulbs -
Traditional incandescent bulbs generate significantly more heat, which can weaken mounting adhesive over time and potentially cause your shade to fall.
Our shades are fire-resistant, but they are NOT fireproof. Heat from incandescent or Halogen bulbs can also yellow the shade. Please keep 1/2" of distance.
Our advice: Switch to LED bulbs before installing. They're energy-efficient, produce less heat, and are a great choice for brighter light. Look for short bulbs, regular 💡 inexpensive ones, but not round (they are hidden now!)
2. Have a Metal Light Fixture? You're in Luck!
This is the easiest installation of all - under 5 minutes for most single shades!
Our brackets feature strong neodymium magnets that attach directly to many metal light fixtures.
-
Test the magnetic bracket against your fixture. Works? Great! Go to step 2.
-
Remove the bracket and slide them onto the shade first, spacing according to the positioning instructions included with the shade.
-
Lift the assembled shade and brackets into position and let the magnets snap onto the fixture or mounting plates. Stand back and make sure it is straight and covering the bulbs. Carefully adjust as needed.
That's it! No adhesive, no tools, no damage! Video Link - https://youtu.be/s6qMNKVCKvA
PRO TIP: Make sure the ENTIRE magnet is touching the metal surface. If your shade hangs too low, the magnet may not have enough contact to support it securely.
3. Mirrored, Painted or Wooden Fixtures? No Problem!
If your fixture isn't magnetic, you may need to use our adhesive-backed metal mounting plates.
Here's how to get the best results:
-
POSITION: Determine exactly where your plates need to go BEFORE removing the adhesive backing. Look at the shade insert for best position of the brackets.
-
CLEAN: Thoroughly clean the mounting area with the included alcohol pads. Allow it to dry completely.
-
PRESS: Remove the white adhesive backing and press each plate firmly into position.
-
WAIT: Allow at least 24 hours for the adhesive to develop a strong bond before adding the weight of your shade. To create a better bond, you can use a hot blow dryer to "melt" the glue
-
PEEL: Remove the BLUE protective film from the metal plates before attaching your magnetic brackets.
-
INSTALL: Slide your brackets onto your shade and attach to the metal plates.
PRO TIP: Don't rush the waiting period! Giving the adhesive time to bond can prevent your beautiful new shade from ending up on the bathroom counter.
If your plates won't stay securely attached, Super Glue is the best alternative for certain surfaces. Always check surface compatibility and follow the manufacturer's full curing instructions before hanging your shade. It works great on mirrors, and is easy to scrape off with a razor blade. Be aware, Metal plates adhered to painted fixtures can pull the paint off if removed.
4. Installing Two Shades Together? Here's the Trick!
Our double-shade kits are designed to create the appearance of one beautiful, continuous shade across longer vanity fixtures.
Most two-shade kits include a special center bracket with wings that helps support the shades and conceal the seam where they meet.
A few things to remember:
-
Your brackets cannot sit directly over a light bulb so plan placement with that in mind.
-
Make sure the shades are properly supported and aligned, do not place brackets way at the ends.
-
Use the center bracket supplied with your kit, if applicable, to help conceal the seam.
PRO TIP: If you have an unusually long fixture or bulbs that interfere with bracket placement, contact us before installing. We'll help you figure out what shade size will work out the best.
5. Save That Box!
We know you're excited to see your bathroom transformation, but don't toss the packaging just yet!
Returns require the original box.
If you have questions about installation, mounting, or returns, please contact us directly. We're happy to help troubleshoot an issue or provide return shipping label assistance.
6. Register Your 2-Year EzLightWraps Warranty
We want you to enjoy your bathroom transformation for years to come!
Registering your EzLightWraps warranty gives us your contact information, making it easier to provide product support if you ever need assistance.
Scan the warranty QR code included with your product to register your 2-year warranty.
Your Beautiful Bathroom Is Just Minutes Away!
Whether your fixture is metal, mirrored, painted, or wood, there's usually a simple way to install your EzLightWraps.
And remember, we're here to help! If something doesn't seem right, reach out before doing too much.
Because updating your bathroom lighting shouldn't require an electrician, a remodel, or a weekend of work.
Just a few minutes and a whole new look!